
The Simple Arduino Blink Code I Wrote (And How It Works)
When I first started learning Arduino, I didn’t use any complicated JavaScript libraries or big setups.
I just wrote a very simple Arduino sketch, uploaded it to my Arduino UNO R3, and instantly made my LED blink.
Here is the exact code I used:

1. void setup()
This function runs one time when the Arduino turns on.
Inside setup, I wrote:
pinMode(12, OUTPUT);
This tells the Arduino:
“Pin 12 is not for reading! It’s for sending power OUT.” So, I connected the LED’s positive leg to pin 12.
2. void loop()
This function runs forever in a loop.
Whatever I put here repeats again and again.
Inside the loop:
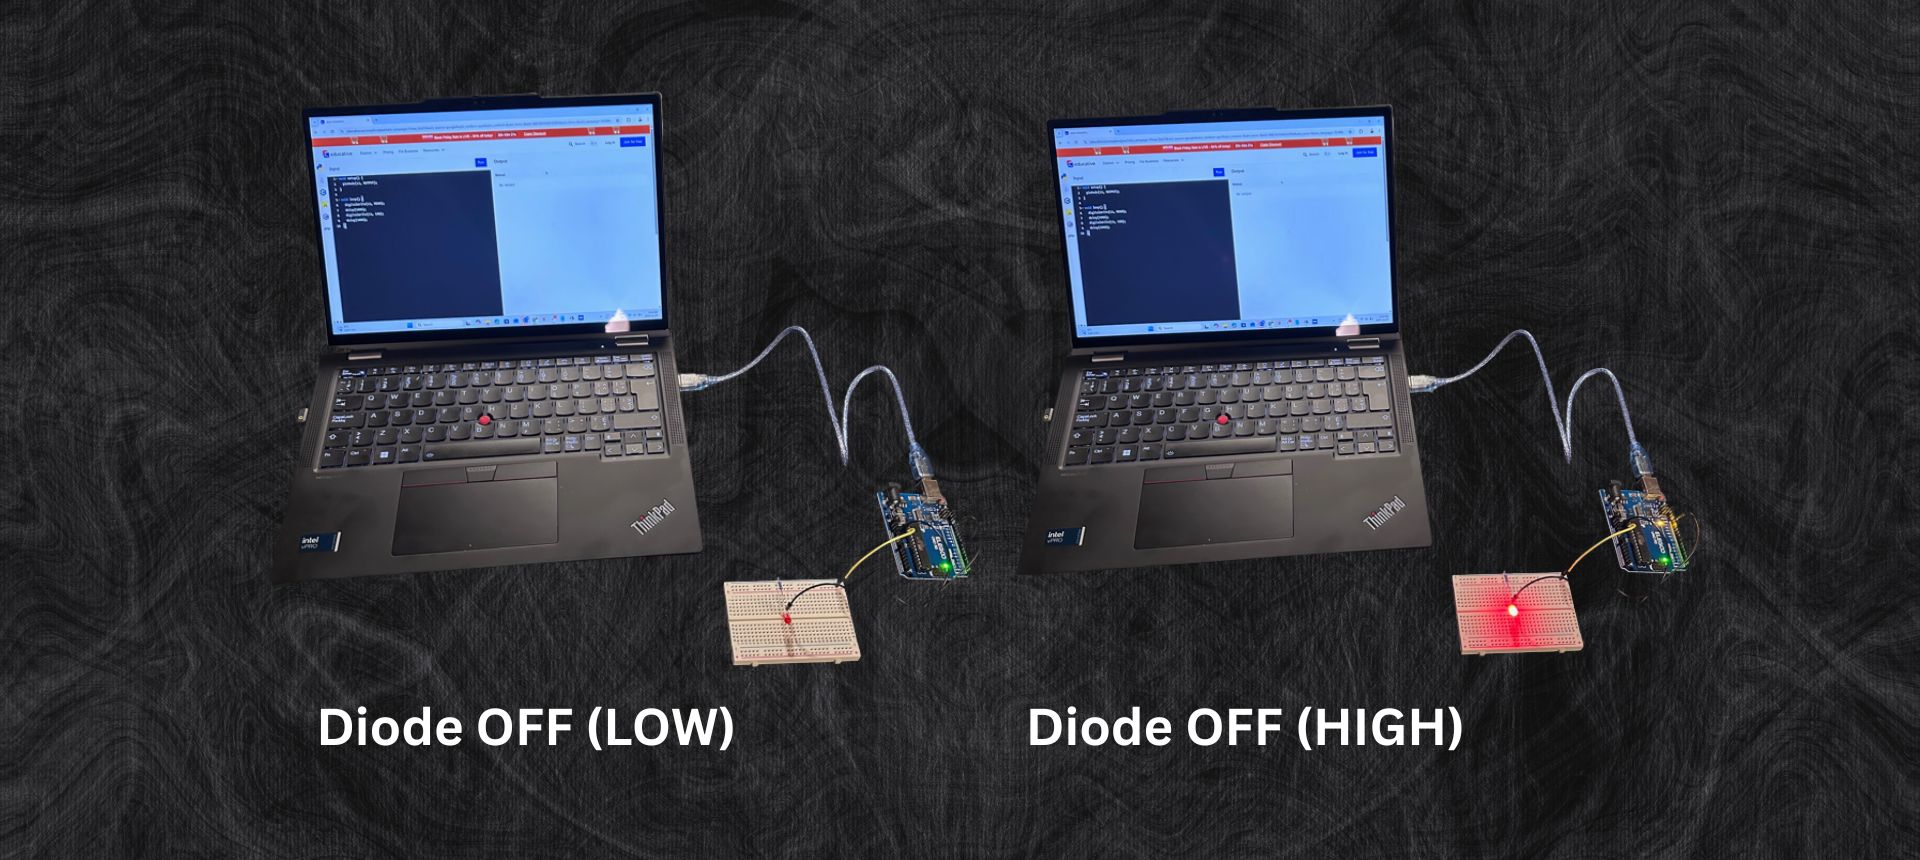
Turn the LED ON
digitalWrite(12, HIGH);
Pin 12 sends power → LED turns ON.
Wait 1 second
delay(1000);
delay(1000) means 1000 milliseconds, which is 1 second.
Turn the LED OFF
digitalWrite(12, LOW);
Wait another second
delay(1000);
Then the loop repeats:
ON → wait → OFF → wait → ON → wait → OFF → wait → …
Why It Worked So Well
This code is one of the simplest and most powerful Arduino programs because it teaches the most important concepts:
- Digital pins (HIGH = 1, LOW = 0)
- Timing using delay()
- Setup vs Loop
- Basic wiring (LED + resistor)
It was the perfect way to start coding Arduino because I could see my code working in real life.
Every blink felt like a tiny achievement.
My Reflection
This was the first moment I realized:
“Wow… I can control hardware with my own code.”
It wasn’t just typing on a screen anymore — it was real electricity turning an LED ON and OFF because of something I wrote.
This simple sketch started my passion for Arduino, electronics, and coding.